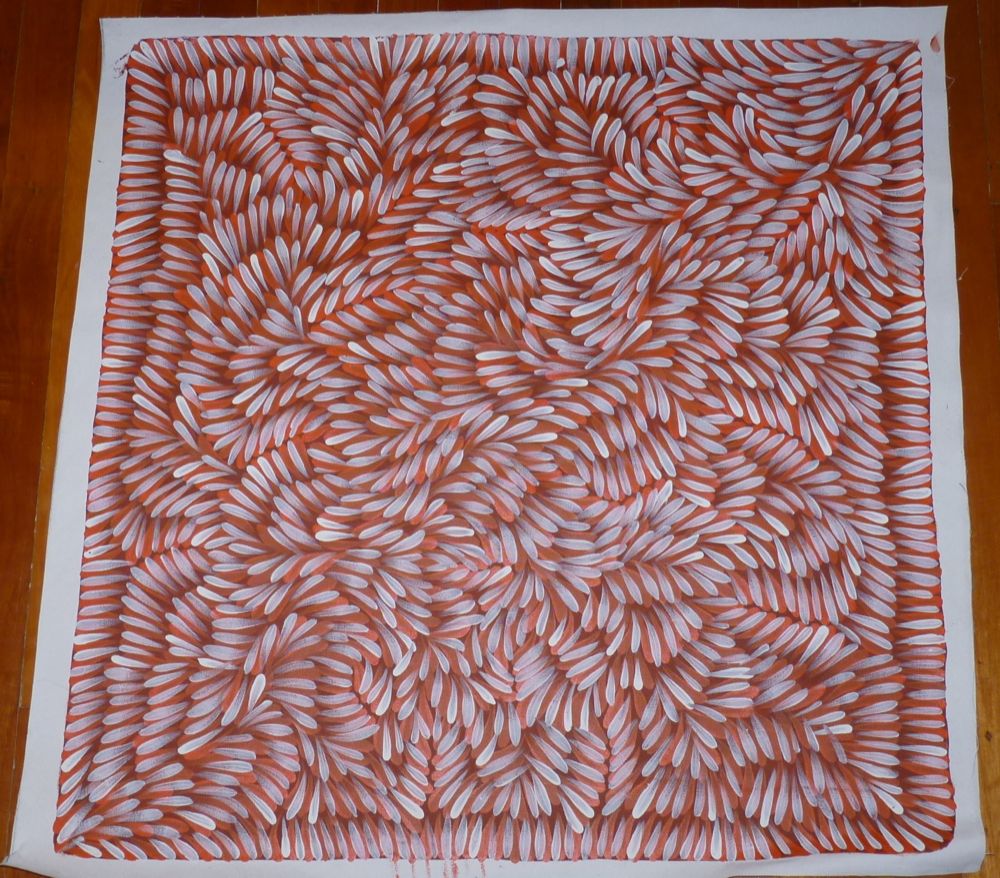
I had bought this gorgeous painting in Alice Springs in April but it's been languishing in it's tube since we returned.
When I finally got around to ringing the local framers and stretchers I was amazed at their quotes. I appreciate that a professionals time doesn't come cheap - but I knew that this was something that I could tackle myself.
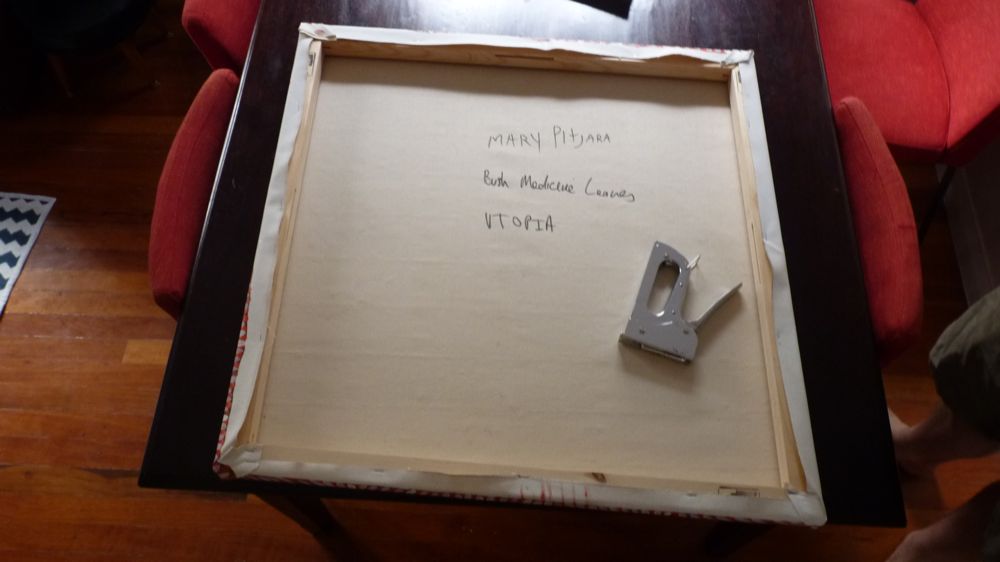
I purchased two sets of 30 inch stretcher bars from Art Shed and borrowed a staple gun from my Dad. (thanks Dad!)
After butting the edges of the stretcher bars together to form a frame (they don't use screws, they just wedge together) I laid it over the flat canvas, face down.

And they pulled each side of the canvas as tight as I could and stapled into the middle of each stretcher bar.

And then folded each corner carefully and stapled, and the stretched each remaining side and put in a staple of either side of the centre staple.
Here's the detail of one of corners - I put the folds on the top and bottom of the artwork so you wouldn't see them on the sides. You can also see that I sacrificed maybe 3cm of the artwork to the side of the canvas, but none to the back. A few of the professionals that I had spoke to were adamant that I'd have to sacrifice 10cm of the artwork since there wasn't a sufficient border.

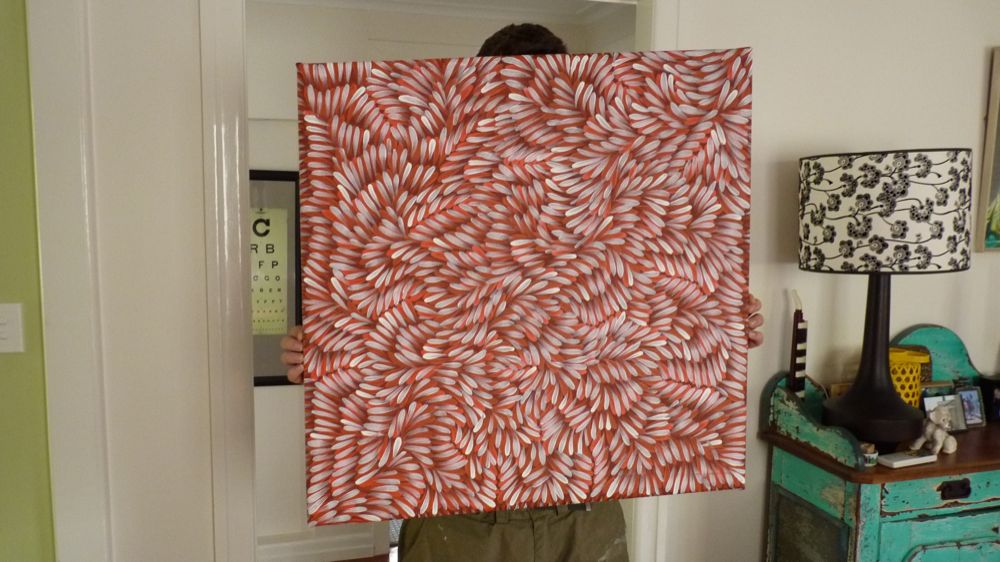
And here is how it looks now (as modelled by Mr Tchotchke). Not too bad for an amateur job. The stretchers cost me $30, so I saved myself about $80-$120.

That's good to know how to do. Thanks for showing I think I'll do the same with some fabric, but am such a nonce it's nice to see how it's done.
ReplyDeleteGood one, sister!
My god woman, you're handy!
ReplyDelete