Showing posts with label DIY. Show all posts

Monday, 8 August 2011

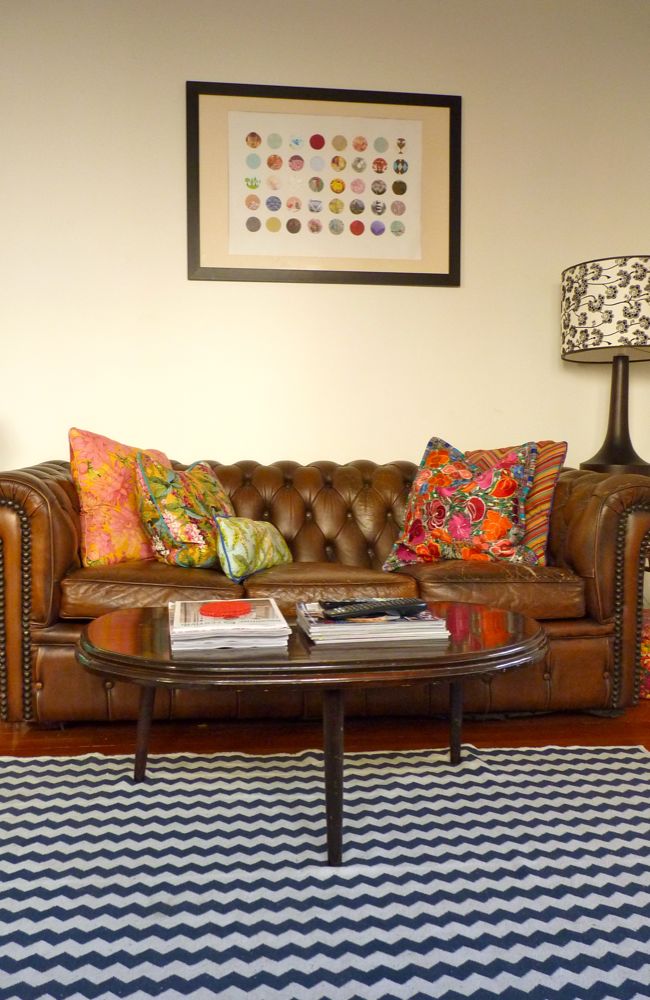
DIY Wedding Card Art (in the style of... Damien Hirst)

I'm a keeper.

And by that I mean, I tend to keep things. Useful things, pretty things, sentimental things. 

I'd been keeping all of our engagement and wedding cards from our friends and family in a big box in the cupboard, until one day I decided that they'd be put to better use in a craft project.

I'd always really loved Damien Hirst's LSD series, especially in the below shot from Elle.

via Elle
But since I don't have a lazy 7,500 GBP, and I also didn't want to paint my own and directly plagiarise his idea, I thought I'd utilise all the lovely graphics from our wedding cards instead.


I picked a glass the right size and traced the circumference on the front of each card. I cut a variety of different images, some deliberate, some abstract, with different textures and colours, and played around with the placement until I was happy with how it looked. I love that there's a chicken in there, and Mick Jagger's lips too.
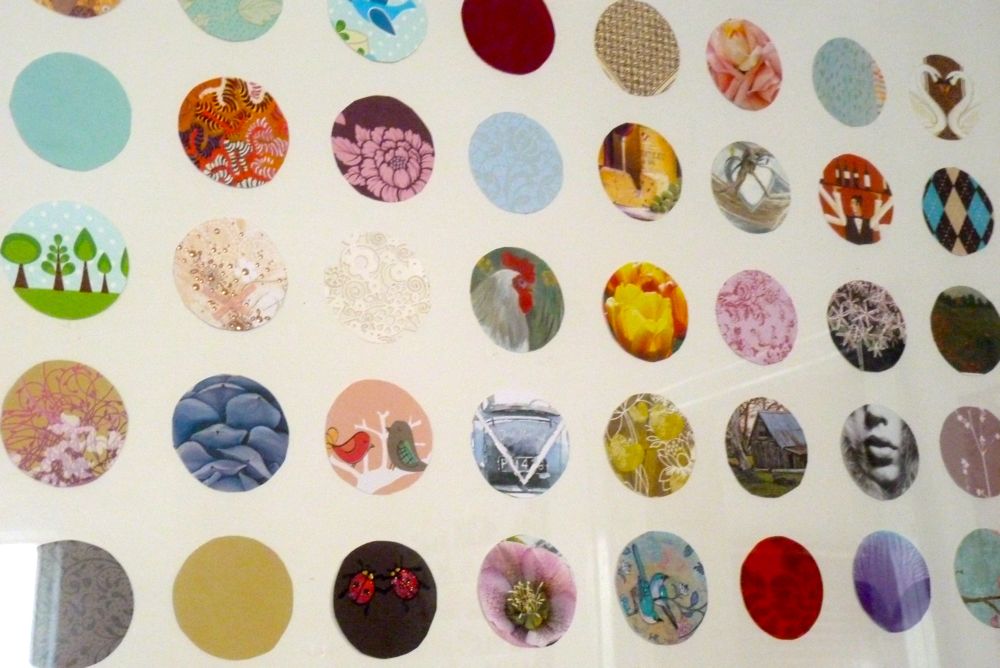

You could obviously appropriate this idea with any cards from any occasion, ie a birthday, graduation, anniversary etc. It would even be great to use momentos and maps from travels.
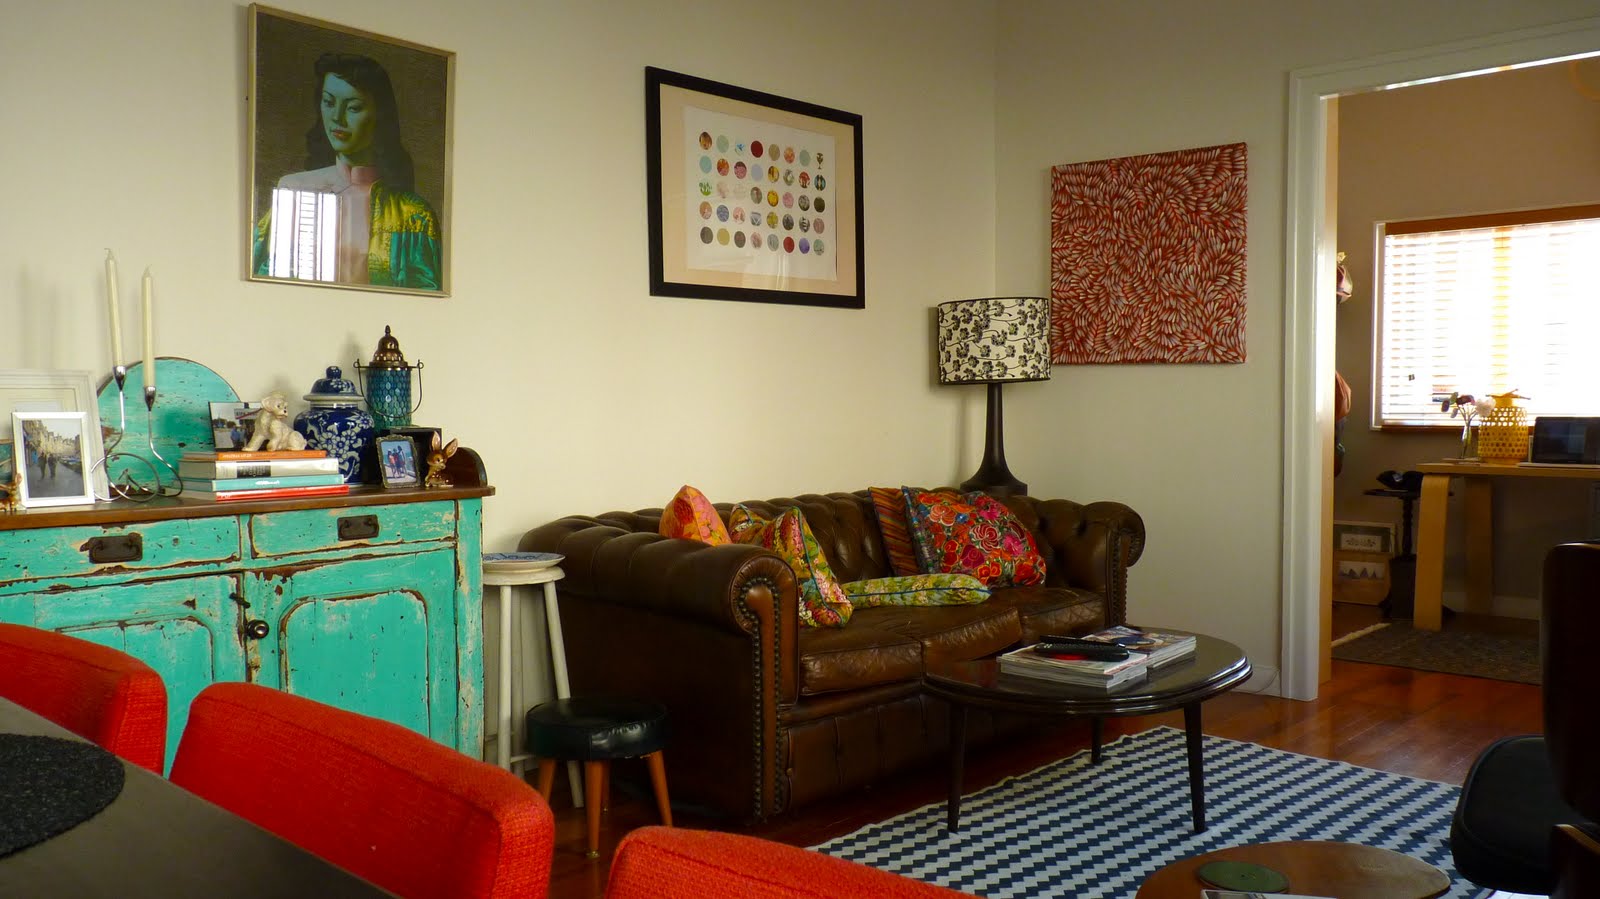

I think it fits in well with alongside Mrs Wong and our indigenous art. I love how it just looks like an interesting print but to me it has so much more sentimental value. And best of all it didn't cost a cent.

Monday, 23 May 2011

DIY: How to Stretch Canvas Art

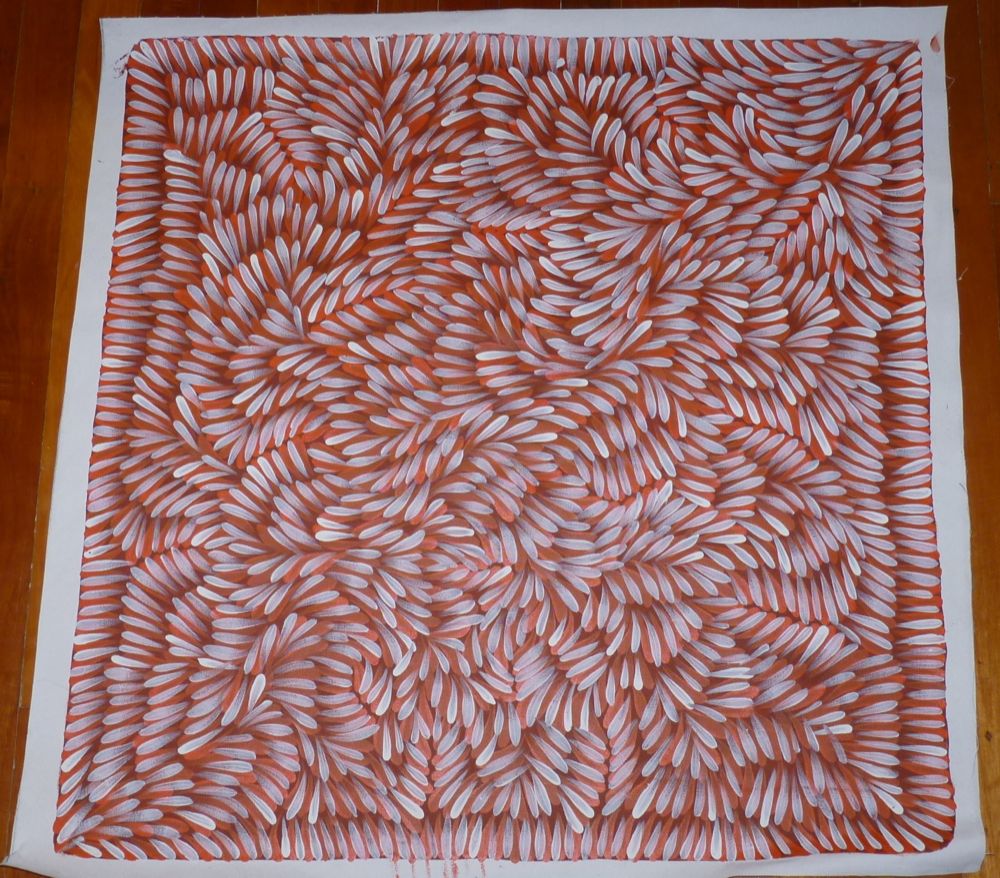
I had bought this gorgeous painting in Alice Springs in April but it's been languishing in it's tube since we returned.


When I finally got around to ringing the local framers and stretchers I was amazed at their quotes. I appreciate that a professionals time doesn't come cheap - but I knew that this was something that I could tackle myself.

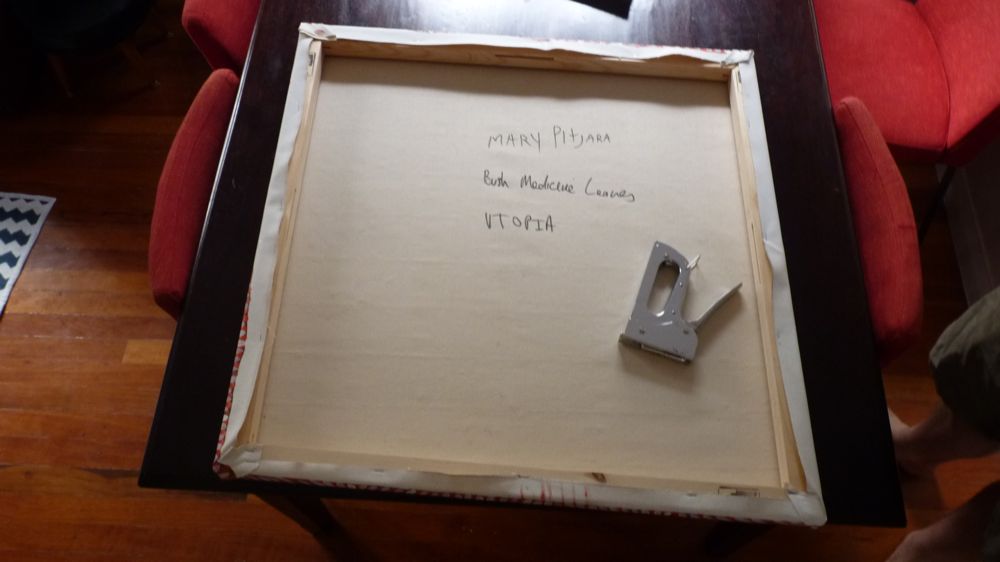
I purchased two sets of 30 inch stretcher bars from Art Shed and borrowed a staple gun from my Dad. (thanks Dad!)

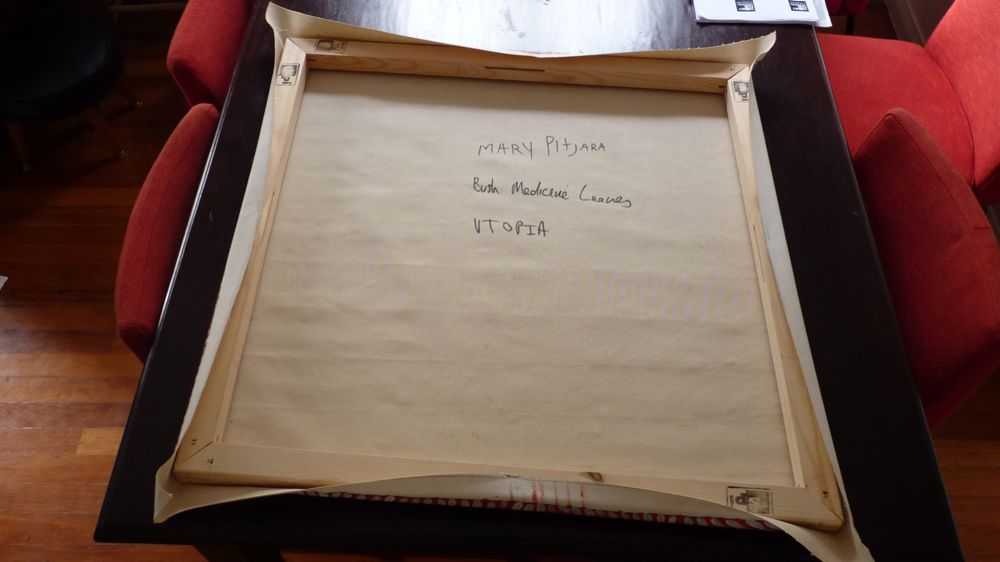
After butting the edges of the stretcher bars together to form a frame (they don't use screws, they just wedge together) I laid it over the flat canvas, face down.


And they pulled each side of the canvas as tight as I could and stapled into the middle of each stretcher bar.


And then folded each corner carefully and stapled, and the stretched each remaining side and put in a staple of either side of the centre staple.


Here's the detail of one of corners - I put the folds on the top and bottom of the artwork so you wouldn't see them on the sides. You can also see that I sacrificed maybe 3cm of the artwork to the side of the canvas, but none to the back. A few of the professionals that I had spoke to were adamant that I'd have to sacrifice 10cm of the artwork since there wasn't a sufficient border.


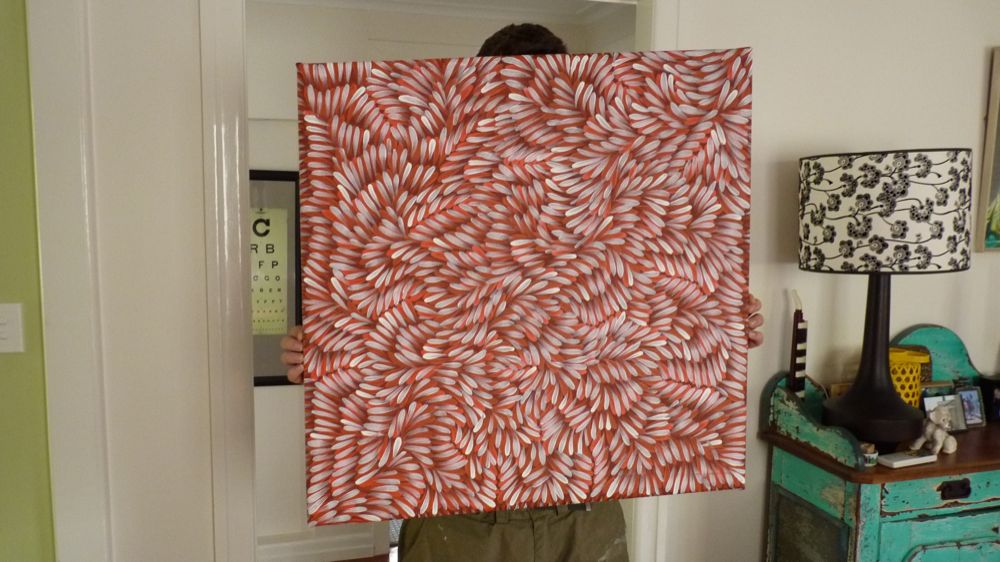
And here is how it looks now (as modelled by Mr Tchotchke). Not too bad for an amateur job. The stretchers cost me $30, so I saved myself about $80-$120.

Saturday, 21 May 2011

DIY Budget Designer Bedroom Curtains

When we were renovating our home last year - I was seriously unimpressed with the range of ready made curtains available in attractive prints. Most options I found were either far too feminine or unimaginably bland. for  Everything I liked was custom made - and way out of my budget. 

I especially loved the below curtains that hang in Black & Spiro.

via Absolutely Beautiful Things

via Absolutely Beautiful Things
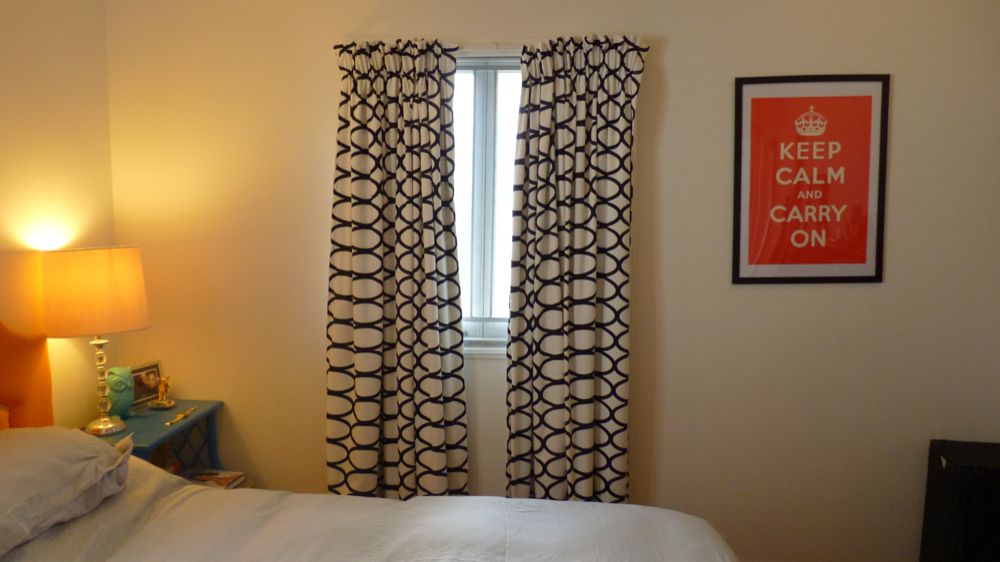
So when I found a similar print fabric in Ikea - look at what I made...


Not bad hey?


Even though the printed Ikea fabric was fairly inexpensive, the block out backing from Spotlight and the curtain tape and rail kit added up pretty quickly so it certainly wasn't the cheapest option out there - but I knew that if I went with a budget ready made option I'd always be longing for something prettier.

It took a few hours in front of the sewing machine but I'm pretty happy with how they turned out. I think the next project is recovering those lampshades..

Sunday, 27 February 2011

Cane Bedside Tables

My new bedside tables are settling into their new home.


We've had mismatched ones for so long and it never really bothered me, but the new headboard was crying out for a pop of colour on either side.

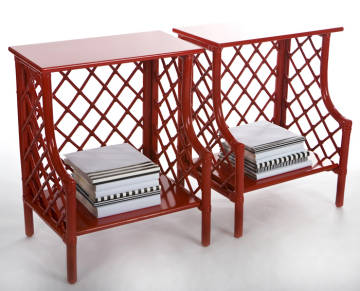
I'd had my heart set on ones like these at Eco Chic - but their price was kinda ridiculous.


So the ebay stalking began and I eventually got my hands on these little pretties.


There's a time and a place for white but this wasn't it - the fabulous criss crosses of the cane and the great curved pieces would just fade away against the white walls - so after a trip to Bunnings and a lick of paint I now have two lovely teal bedside tables. (in case you're interested I used Dulux - Mamala Bay).

Sunday, 20 February 2011

The Upholstered Bedhead Project

With a few days off over Christmas I tackled a project that's been on my to-do list for awhile - making an upholstered bedhead.


I've always loved the retro velved tufted ones - ala The Drapers, and even had a vintage red one hanging around from a shoot years ago, but it didn't quite fit the bill as I wanted to go for something lighter and fresher.


I immediately fell for the bedhead on the cover of the last edition of Ivy and Piper,


and with a quick brush up on my upholstery skills with Grace at DesignSponge I was on my way.


After spending considerably more time than I thought and a small fortune on upholstery tacks, the project was complete and I had my very own orange monstrosity to rest my head on.


I found my nice thick orange cotton at Ikea and said tacks at Spotlight. A potential tip to those about to embark on their own upholstery adventure is to ensure your foam filling isn't too thick - I had trouble getting some of the tacks to grip into the plywood backing and had to create a work around with tack heads glued over nails...

I'm in the middle of somewhat related project revamping some bedside tables, no more upholstery though thank goodness. (Although I do tend to have a short memory when it comes to decorating drama, I'm sure I'll be tackling a padded footstool or armchair again in no time..)
Related Posts Plugin for WordPress, Blogger...